
To Start Monitoring HVAC Performance Using Your Enercare Smarter Home System:
- Plug your hub into an outlet in a good location (main floor, reliable power). Place the hub between the thermostat and leak sensor for best signal.
- Place your leak sensor on the ground around the water heater. It is battery powered and can be used to detect leaks in any desired location.
- Download the
Home by Building 36 app. (from the Apple® App Store® or Google PlayTM).
- Follow the instructions (via email or text message) from Building 36 to complete your user account creation.
Note: Check your spam/junk mail folder if you don’t see the above email.
Please see the steps below on how to configure your thermostat or view our how-to videos to set-up using your mobile app or your desktop.
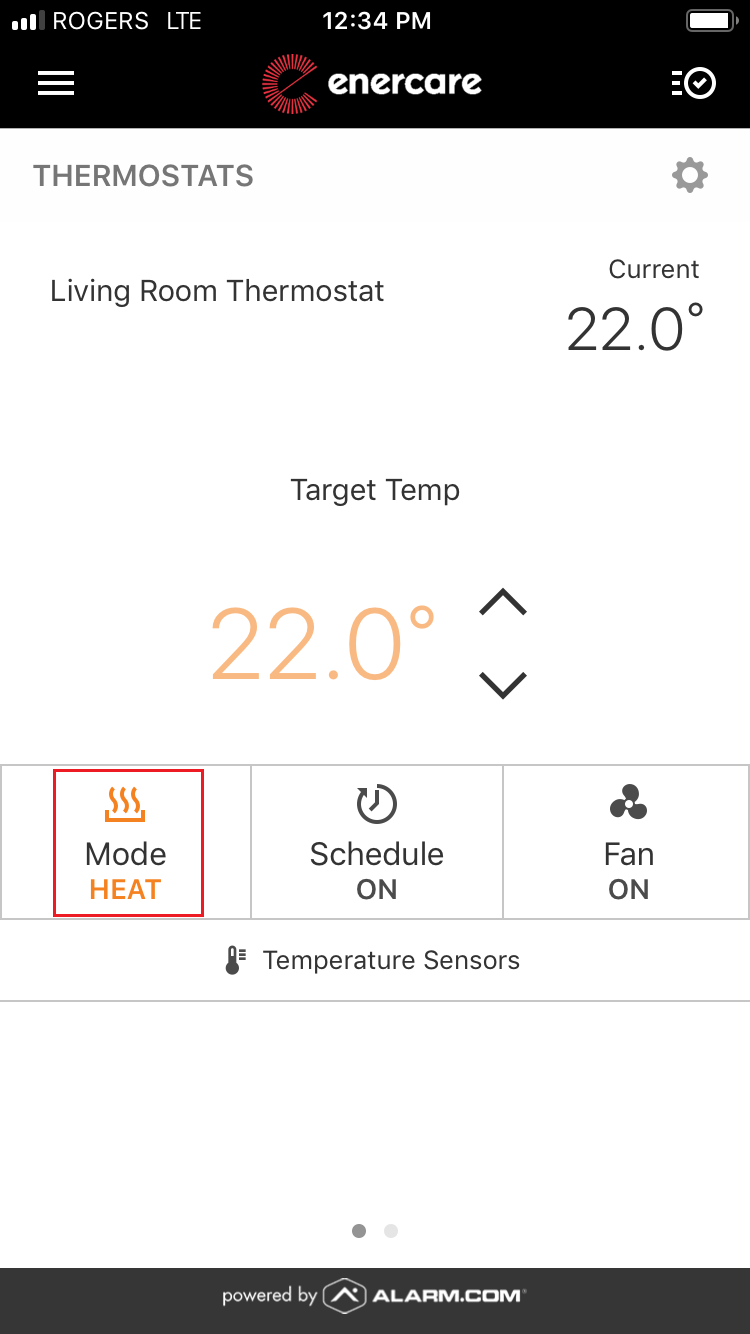
How to Change the Thermostat Mode*
1. Log into the Home by Building 36 app
2. Tap:

- Thermostats
- Mode
- Select desired mode
- Select
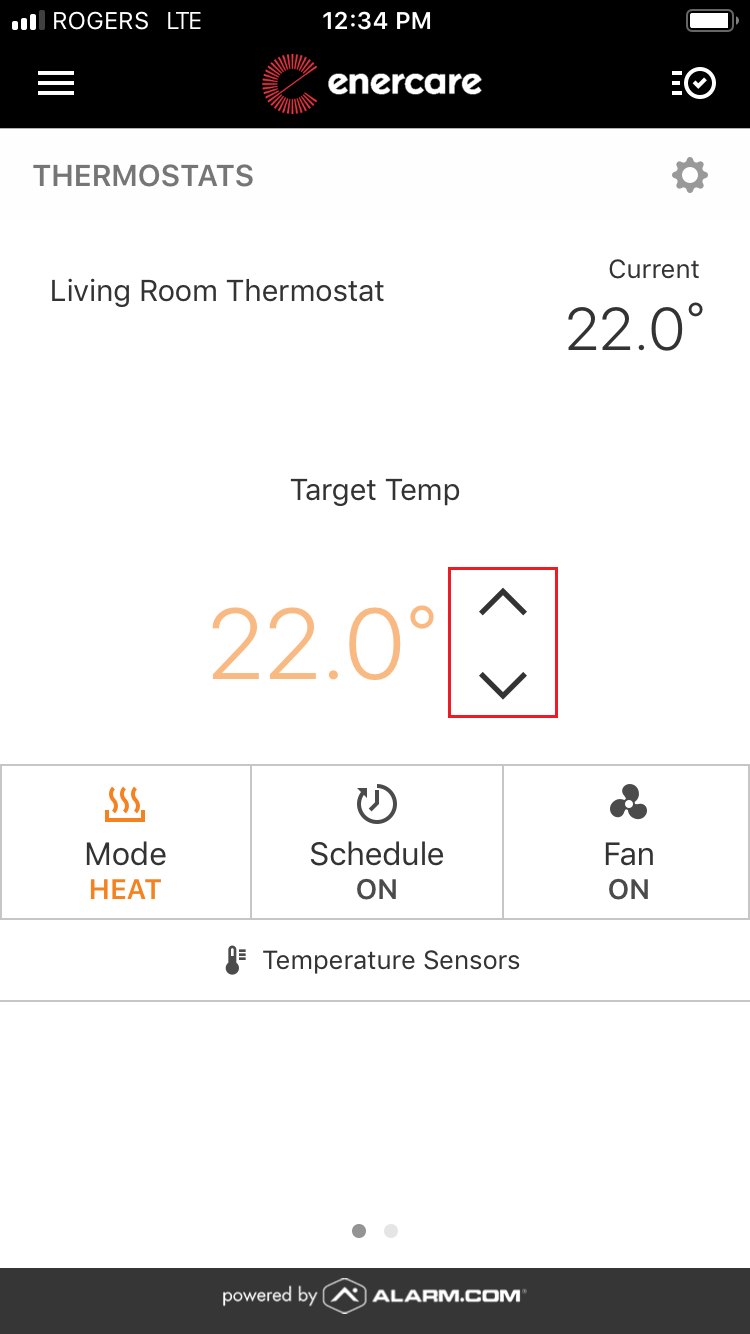
How to Change the Thermostat Setpoint*
1. Log into the Home by Building 36 app
2. Tap: ![]()
- Thermostats
-
 or
or  to adjust the set point temperature
* You may need to drag the screen down to refresh and confirm new settings.
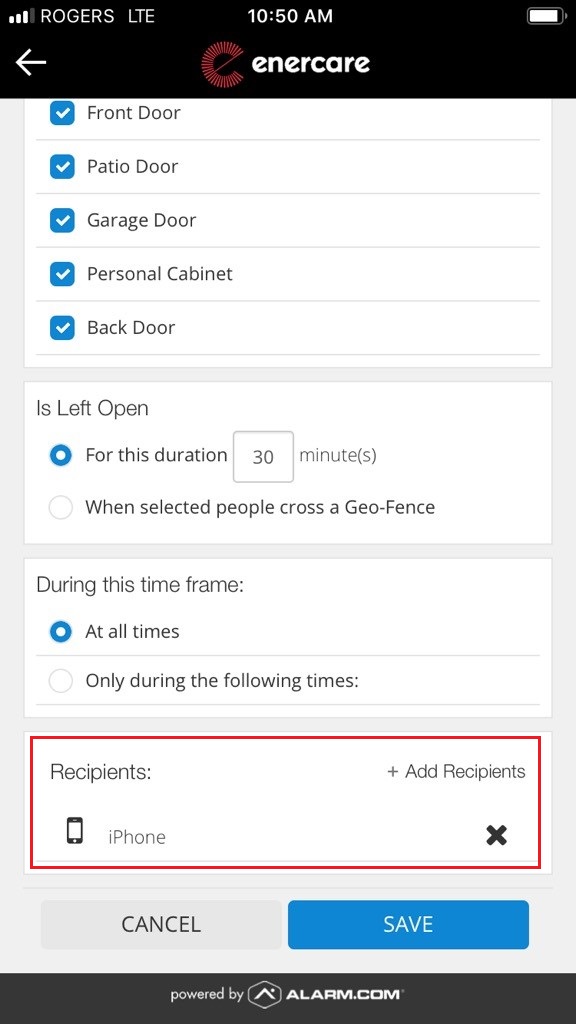
Turn on Notifications
1. Log into the Home by Building 36 app
2. Tap: ![]()
- Notifications
3. Ensure Push Notifications (at top right) is turned on
4. Tap: “+” button at the top right to display available notifications You can choose from existing templates or create your own
- Tap desired notification(s) and select desired settings along with preferred device(s)
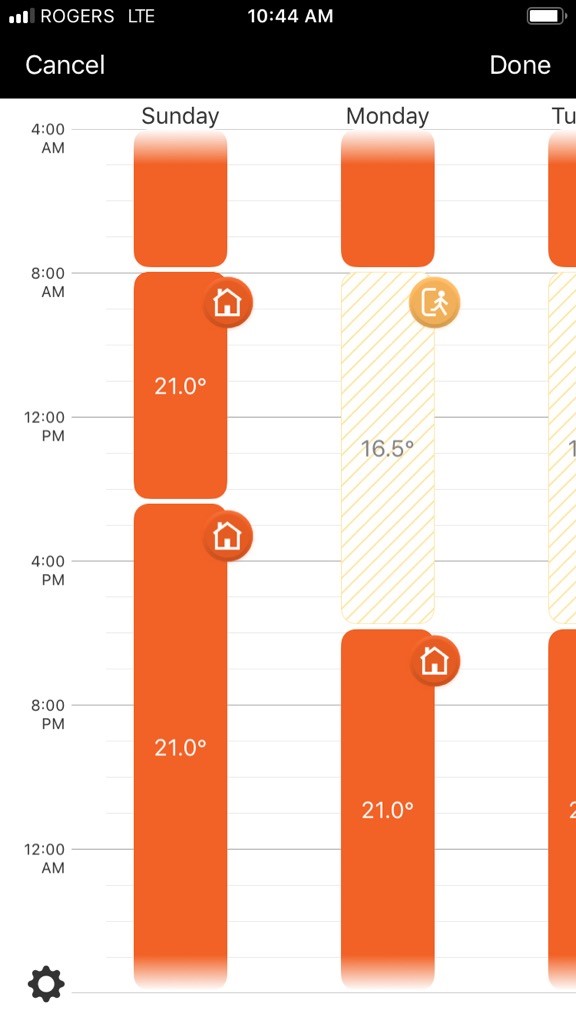
How to Change the Thermostat Schedule
1. Log into the Home by Building 36 app
2. Tap: ![]()
- Thermostats
- Schedule
3. In Schedule Type, tap On to turn the thermostat’s schedule on
4. In Edit Basic Schedules, tap Cool or Heat to edit the mode’s schedule
5. To change the thermostat Schedule Type and Number of set point intervals:
- Tap

- To change the thermostat schedule view, in Schedule Type tap either:
- 5-2 Day to set a weekday and weekend schedule
- 7 Day to manage daily schedules independently
- To change the number of set point intervals for each day, in Number of Set Points tap 2 or 4
- Tap Done to return to the thermostat schedule
6. To change the temperature setting an interval is set to (i.e. Away, Home, Sleep, Custom), tap Temperature Setting icon next to the interval to adjust, and tap desired temperature setting to change to
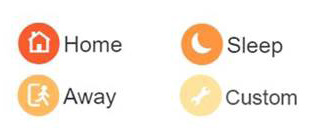
7. If Custom is selected:
Tap:
- Custom interval block to adjust Custom temperature
- Temperature arrows to adjust Custom temperature
- Done
8. To adjust the target temperature of temperature settings:
Tap:
- A schedule interval block that is set to a temperature setting
- Temperature arrows for the temperature setting to adjust
- Done
9. To change the time of the schedule intervals, tap and hold the Temperature setting icon while dragging up or down to the desired time on the schedule
Tip: For the thermostat to automatically adjust temperatures at an interval, the adjacent intervals must be at least one degree different from each other.
10. Tap Done to save your changes
11. Repeat the steps to edit the other mode or any other thermostats
How to Create Additional Logins Using the Website:
1. Visit: https://www.alarm.com/CAN/Enercare
2. Log into your customer account
3. Click:
- Users
- Manage Logins
- Add a Login
4. In the Email Address field, enter the new user’s email address
5. In the Login Name field, enter the new user’s desired login name
6. Using the Language Preference dropdown menu, select the new user’s language preference
7. Click Save
8. On the Manage Login Permissions page, select either Master Control, Full Control, Read Only, Limited Device Access, or Custom. This will give the login permission to access various website features
9. If no permissions are selected and saved, you will have basic view of alerts and not be able to make any system changes
10. Click Save
Tip: New users will receive an email containing their username and a link to set up a new password. If this email is not received, confirm the user’s email address is entered correctly and/or have the user check their junk/spam folder.
For Enercare Smarter Home Support:
Call: 1 833-99-SMART (76278)
®Apple, App Store and the Apple logo are trademarks of Apple Inc., registered in the U.S. and other countries.
™ Google Play and the Google Play logo are trademarks of Google LLC.
® Enercare, Enercare Smarter Home and the design are registered trademarks of Enercare Inc., used under license.
